
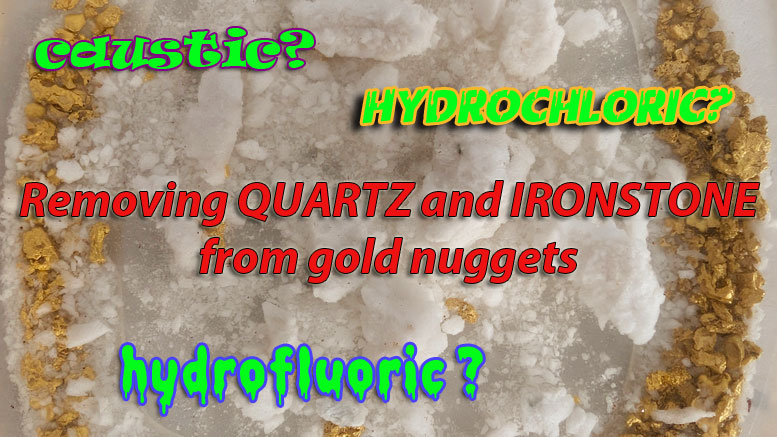
Removing ironstone and quartz from gold nuggets
There are a few different ways to clean ironstone and quartz from gold with many levels of safety. Mainly, the dangers of cleaning by use of heat and chemicals. Other host minerals may also be attached which can be dangerous if not managed correctly.
You must take care in identifying what you have before undertaking any of these methods. The simplest way is to crush in a dolly pot, and pan off the gold.
The next option is to cover the specimen with an old towel to control flying glass like shards of quartz, and smash away with a sledge hammer to achieve the required results.
There are also mechanical rock crushers that attach to angle grinders for small DIY operations up to larger commercial versions
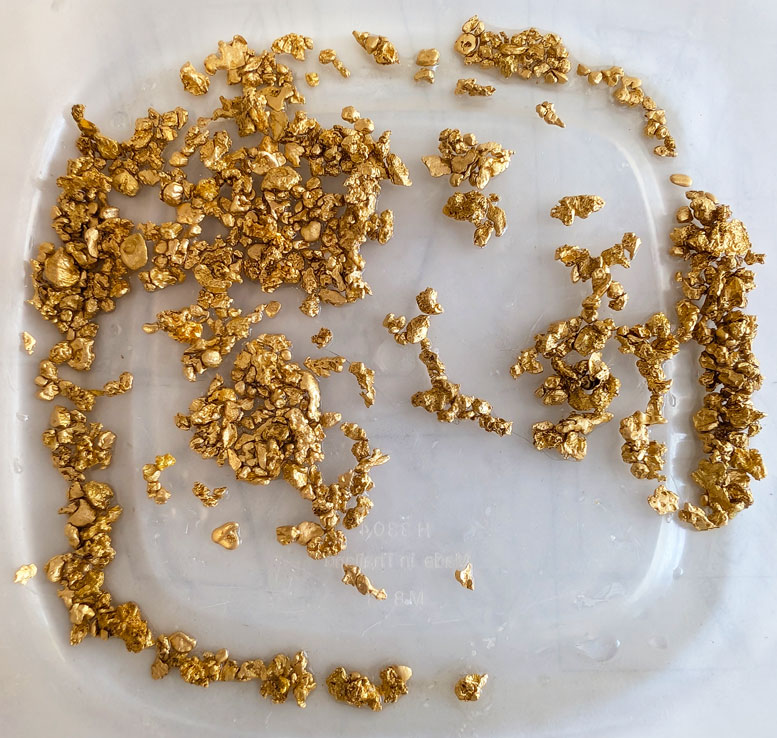
What are gold specimens?
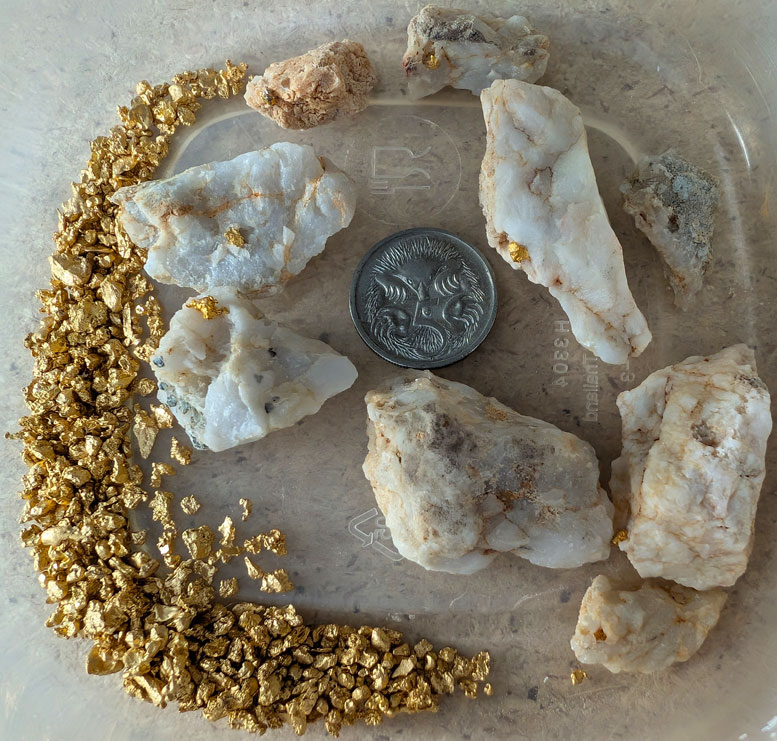
Gold specimens are pieces of natural gold, often still attached to a host rock like quartz and ironstone, that are valued for their natural beauty and geological significance rather than just their metal content.
These specimens are retrieved from lode gold deposits and reefs, where gold forms in veins or is trapped with other minerals, and they can display intricate shapes like wires, leaves, and crystals.
The intricate shapes created by removing the host rock, are prized by collectors and geologists for their aesthetic appeal and the information they provide about the geological processes that formed the gold.
Sometimes, a part of the specimen may be submerged in hydrofluoric acid (for quartz – hydrochloric for ironstone) to reveal only part of the gold and give contract to how it is lodged within the host material.
Other specimens merely hold the gold in small chunks or other unappealing rock displays and prospectors remove the host rock for the actual gold value.
IRONSTONE
HYDROCHLORIC ACID: Common pool acid to control PH is available at most hardware stores. The hydrochloric acid by itself, will not harm the gold or quartz.
You may see yellowing of the water as hydrochloric acid can dissolve and other minerals within the gold such as copper. This will only occur on the outer surface as the remaining gold will shield against further deterioration removing only microns thickness at most.
Though hydrochloric acid is not as dangerous as hydrofluoric acid, the same care and respect must be applied to this acid.
Unfortunately, people do not realize such dangers as the vapor until they get a dose of it, by which time, it can cause serious irreversible damage. Always wear full safety gear, this stuff give horrific and painful skin burns on contact.
Fortunately the process of removing the ironstone is rather easy. Use a suitable plastic container (that will never be used for food!) – place the gold in the container and cover with acid.
Put a secure lid on and place it in a safe place. Check after a week, if there is significant ironstone present, you may need to change the solution and refill with fresh acid.
Disposal of any chemicals should be done with council guidance for safe disposal stations.
QUARTZ
METHOD 1 – HYDROFLUORIC ACID
First, A Very Necessary Warning
HYDROFLUORIC ACID is the most common way to remove quartz from gold. Hydrofluoric acid comes in many different strengths, along with varying levels or danger. Hydrofluoric acid is great for removing small amounts of quartz, but struggles in some areas.
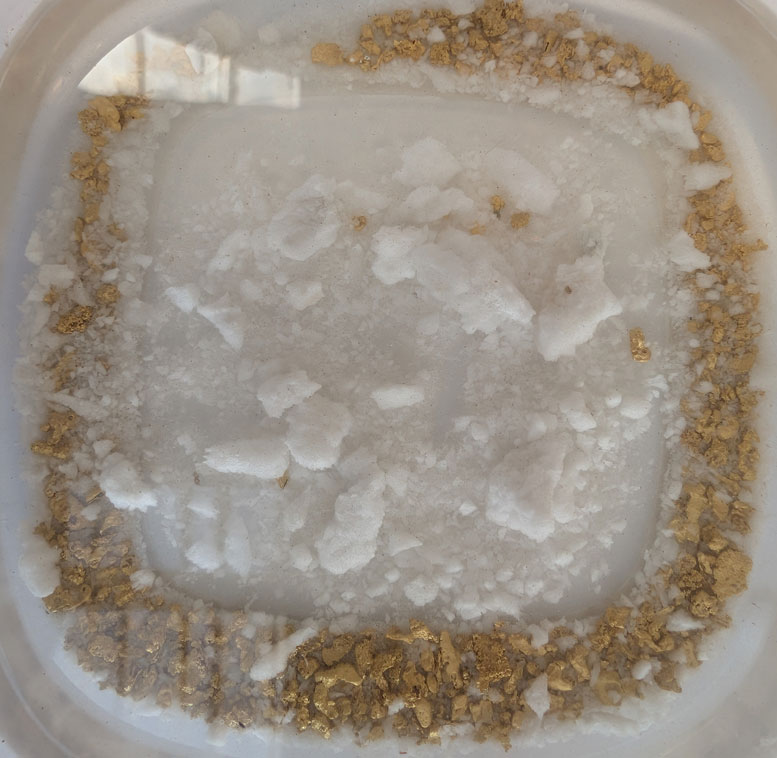
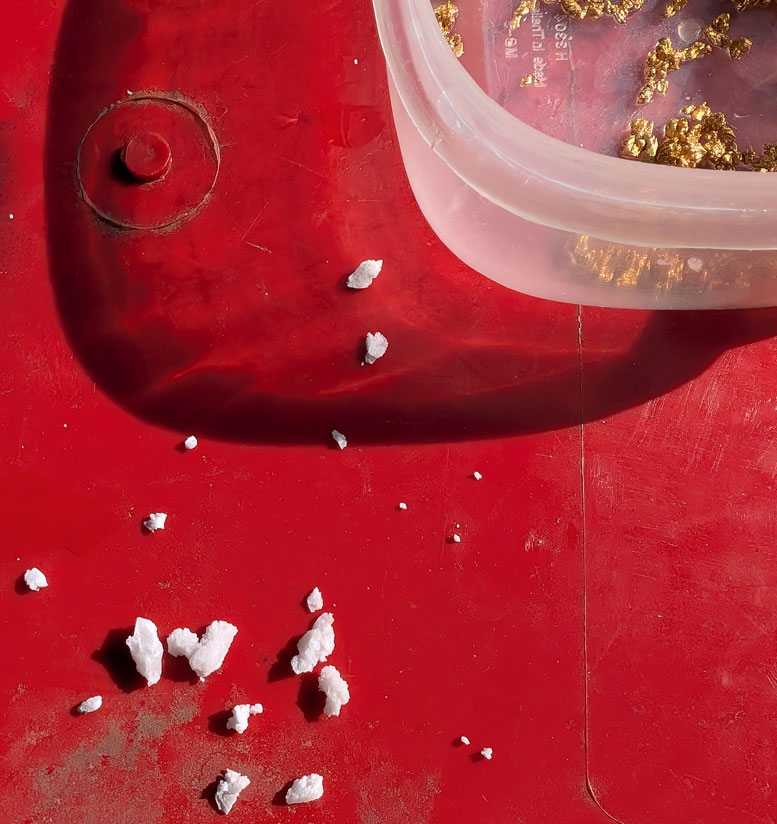
Basically you submerge your gold specimen in a sealed plastic container (acid eats glass, metal and porcelain) and let stand for 7 days before checking. This method is for complete host rock removal. What is left is a sandy slurry or liquid acid and the gold pieces.
For partial removal of host rock, use a sealed plastic container (vapors alone can kill you!) and partially submerge the gold specimen to reveal a particular section. Or, fully submerge but check daily for progress.
If you have delicate specimens, and wish to preserve the gold in its original shape and form, hydrofluoric acid is the only way to go. The videos below offer many different options for you to try.
I have found during testing that smaller pieces of quartz, typically up to an inch or 25mm in size, respond well to 35% acid over a 7 day period. This relates to standard quartz, solid or brittle and requires a minimum of 7 days.
For more stubborn rocks, leave for another 7 days, replacing acid at 7 day intervals. This method also works on larger specimens but removing as much quartz as possible first certainly speeds up results.
What you will find is that on crystalized quartz, the acid eats away at a much slower rate and requires a clean flush and acid neutralization so you can handle the specimen.
About 5mm to 10mm will be like compacted sand and should be gently removed. Light chipping with a flat screwdriver or similar seemed to work well enough.
Larger specimens and crystalized quartz may respond better if they were firstly roasted and dropper an a metal container filled with plain white vinegar.
This will cause fracturing and breaking down of the rock while leaving the gold unaffected. Just make sure the roasting process stays below the melting point of gold.
Roasting quartz was common in the old days to help make the quartz easier to brake down in stamping batteries, but a word of caution – do you due diligence, research and read-up on how roasting quartz should be performed, including temperatures.
WARNING – EXTREME DANGER
Heating quartz specimens can make the rock explode sending glass-like shard similar to a hand grenade going off, not something you want to experience.
Ali Brite – this is a one percent solution of chemicals that create hydrofluoric acid. The bottle states 0.98% strength so is relatively safe to handle without concerns of vapor and touch contact burns, though full PPE is recommended due to the systemic and cumulative properties of this acid.
Commercial/Industrial Strength – you can find this available in bulk 5 liter and 20 liter quantities. Its strength is usually 35 to 70% with 35% being the most common and affordable.
Scientific Strength – strengths above 70% and usually up to 90% are restricted to purchase and EXTREMELY hazardous. This should only be handled by experienced and trained professionals with associated safety equipment.
At this strength, it can only be described as “evil” due to it being incredibly powerful and fast acting. A mistake with this strength, will certainly end in death.
NOTE: Most people use store bought “AliBright” from auto stores. This contains around 1% strength hydrofluoric acid and needs replacing every few days due to the lower strength.
If you are looking for alternatives, there are many other products that contain hydrofluoric acid in low volumes. Typically they are found in mag-wheel cleaners and aluminum boat cleaning products.
Recommended PPE consists of appropriate type and rated respirator, face shield including goggles. Chemical proof and water proof footwear, chemical resistant long gloves and lab-style chemical proof suite. Have available all required safety gear including, eye wash station, shower, bicarb-soda to neutralize small spills.
A Calcium Gluconate Gel is used for hydrofluoric acid (HF) burns, neutralizing HF exposure and preventing deeper tissue damage. It acts as a burn relief gel. It is highly recommended you read the related Safety Data Sheets available online for your own safety.
Tricks of the Trade: Calcium gel for hydrofluoric acid burns
Calcium gel, specifically 2.5% calcium gluconate gel, is a first-aid treatment for hydrofluoric acid (HF) burns because it neutralizes the damaging fluoride ions, preventing further tissue and bone damage. It should be applied immediately after flushing the area with water, then massaged in repeatedly until medical help arrives. All HF exposures require professional medical attention, even after initial first aid.
How to use calcium gluconate gel for HF burns
Initial decontamination: Immediately remove all contaminated clothing and flush the affected skin with copious amounts of cool water for at least 15 minutes to wash off surface acid.
Apply the gel: Once flushed, apply the 2.5% calcium gluconate gel generously to the burn area.
Massage: Continually massage the gel into the tissue. If the gel is not available, an extemporaneous gel can be prepared by mixing calcium gluconate injection with a sterile lubricant.
Reapply: Reapply the gel and continue massaging it in for at least 15 minutes, and continue doing so until medical assistance arrives.
Seek urgent medical care: All hydrofluoric acid exposures must be followed by immediate professional medical assessment and treatment.
Important safety precautions
IMPORTANT – Do not rely on the gel alone: The gel is a first-aid measure and does not replace professional medical care for HF burns.
Do not use on eyes, inhalation, or ingestion: The gel is not for use on eyes, for inhalation, or for ingestion. For eye exposure, continuously irrigate with water/eyewash and seek emergency care.
Ensure proper application: Wear appropriate personal protective equipment (PPE), like chemical-resistant gloves, when assisting someone to avoid contaminating yourself.
BEFORE HANDLING: After flushing, always rinse in an acid neutralizing substance such as Bicarb of Soda to assure there is no residual acid left.
METHOD 2 – Boiling White Vinegar
This method is primarily used for fracturing larger quartz specimens. Procedures vary and instructions can be seen on many YouTube videos. Basically, you roast the quartz on a fire outside, preferably within a cast iron pot in case the stone explodes.
Once the specimen is up to temperature, a large 2 liter bottle of vinegar (about $2 home brand at supermarket) is poured over the quartz completely submerging the rock. Once it cools down, you can rinse with clean fresh water – and you will notice the quartz brakes down into a sandy, rocky paste.
This method usually requires further processing of the specimen to completely remove all host-rock, etc….
METHOD 3 – Boiling Caustic Soda
A method new to myself, but popular with YouTube gold hunters like Victoria Golden Triangle Nugget Hunter. Look up his videos for detailed instructions and do further research.
From what I see, specimens are placed in the strong stainless steel pot, then a tub of caustic soda is added and heated with approximately 50% clean, fresh water until boiling.
This is done slowly at the start till the paste is melted and at the correct consistency. He does provide specific temperatures as too-cool and it’s ineffective. To hot, and it boils away.
Again, this is a highly toxic and dangerous process and must be done outdoors. Full PPE is recommended, as toxic gases are produced and can be fatal.
Also the burning hot caustic soda can cause instant 3rd degree burns and be fatal if you are not adequately protected from contact or inhalation.
The system takes 4-5 hours and the white caustic soda turns to a runny red paste. Mix with a standard household stainless steel soup or desert spoon.
Thoroughly dilute repeatedly with clean, cold water once the mixture has cooled down. After flushing, always rinse in an acid neutralizing substance such as Bicarb of Soda.
Old Timer Quartz Roasting History
Here’s a short TikTok on roasting quartz. I’d suggest adding a little more PPE for safety, but the method itself is interesting.
Be the first to comment on "How To Clean Gold Nuggets"